A WD My Passport formatted with Mac file system will be a dud on the Windows and vice-versa. Thankfully, MS-DOS FAT32 and ex-FAT formats have survived to date, and these are the file system to make your WD My Passport work with a Mac and a Windows PC simultaneously. For its auto backup and passport protection, WD My Passport for Mac hard drive is favored by numerous customers. However, a large number of customers complain that WD My Passport for Mac hard drive fails to mount in Finder or Disk Utility.
Hey everyone, I’ve been running a My Passport Studio 500GB external hard drive through the firewire port on my iMac for about a year. It just quit working on me this week with no warning sign. I have it piggy backed onto another drive which is also connected through firewire. I noticed that it wasn’t working when the drive icon disappeared from my desktop. I’ll break this down as best I can with my symptoms and trouble shooting.
Symptoms: • Disk Icon disappeared from my desktop. • Display is still showing the drive name & amount of remaining space. • Drive unresponsive Troubleshooting: • I unplugged the drive and connected it to my 27' iMac directly with the firewire port using the WD supplied cable. The power light comes on for about 1/2 a second then shuts off. I can hear the drive start to spin up but it stops before reaching full speed. It then tries to spin up again, then stops. It repeats this for roughtly 20-30 seconds then makes no noise.
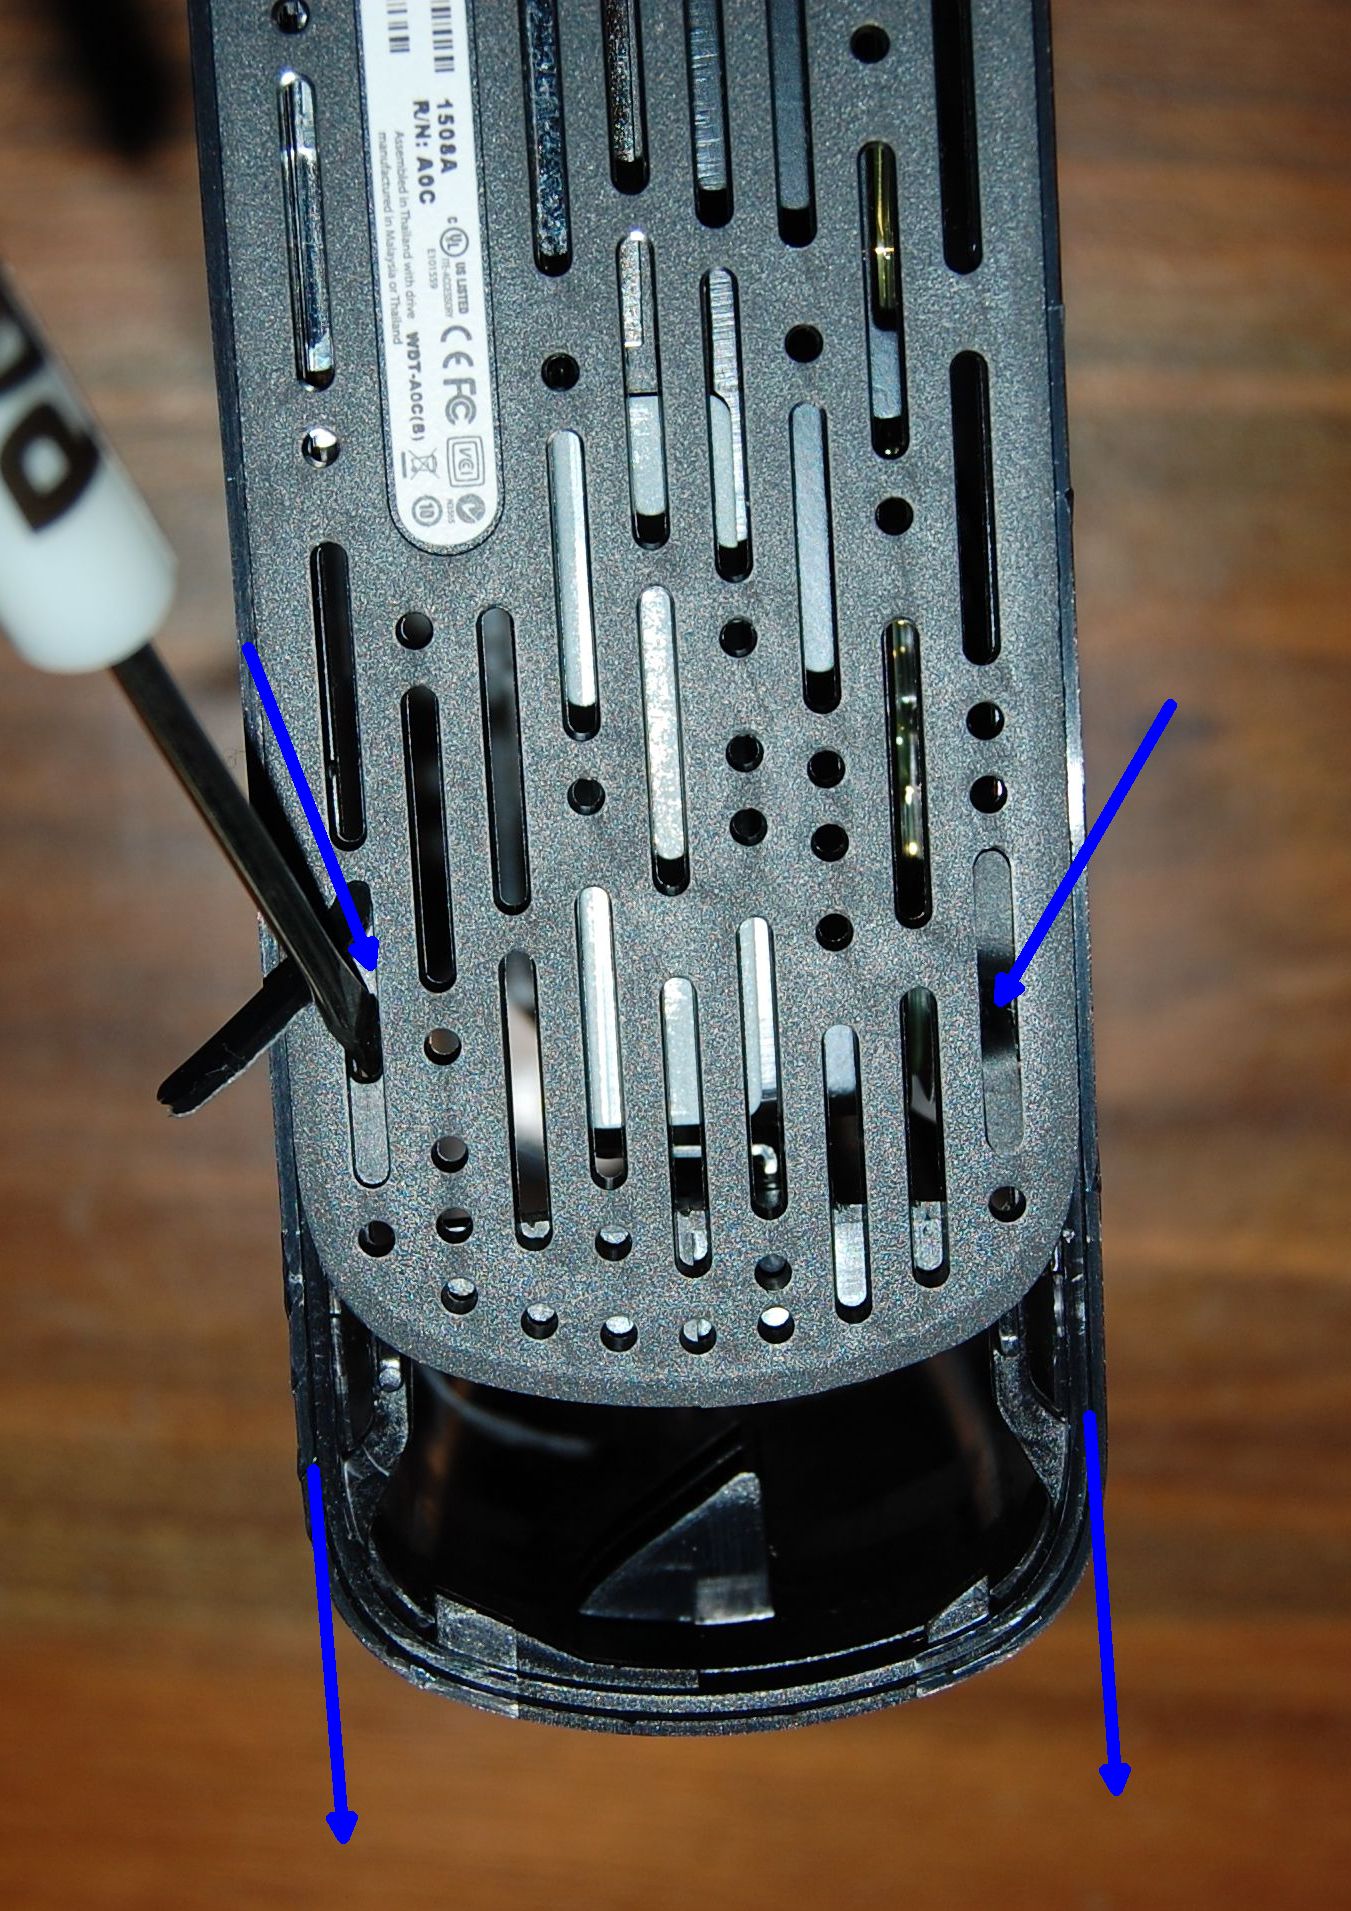
• I then repeated step 1 with the WD supplied USB cable, directly to my iMac. The same results. • I tried steps 1 & 2 connecting it to my Mac laptop, same results. • I tried steps 1 & 2 connecting it to my Dell laptop, same results. I have disassembled the drive and have removed the controller. I will be trying to connect the sata drive to a computer with a USB adapter tonight to see if it will spin up. I did notice some discolorization on the PCB board, which leads me to believe this is where the problem is.
What's similar to onenote for mac. Instead, Microsoft is putting its development efforts behind the OneNote App for Windows 10 going forward, according to. The current OneNote 2016 desktop product will be supported throughout the lifecycle of Office 2016, which means it'll still get updates and security patches until Oct. Microsoft is planning to stop building its OneNote desktop application, with the current OneNote 2016 product being the last of its kind.
So, my question is if it fails when connected directly to the sata port, how do I replace the PCB board? I know I have to use a Torx head to disassemble it, but what else do I need to know? Is there something involved with Firmware or anything else I should know? Can I just order a replacement board and install it? I took some pictures. AIUI, all WD drives manufactured in recent years store unique, drive specific “adaptive” information in flash memory on the PCB. In your case there is a discrete 8-pin serial flash memory chip at location U12 between the SATA data and power connectors.
When replacing the PCB, U12 must be transferred from patient to donor. If you are not adept at soldering, then your board supplier will sometimes include such a service for US$10. Download email app for mac. Otherwise your local TV/AV repair shop should be able to do it for you.
That said, if the drive tries to spin up, then the PCB is usually OK. I’m not a data recovery professional, but the fact that the drive spins for less than 1 second would suggest to me that it has not achieved spindle lock, which means that the heads will not have attempted to move out of the landing zone. AISI, this would suggest that there may be a power problem of some kind, or perhaps the motor controller chip (the square IC at the top of the photo) has some odd fault. If the drive doesn’t start to spin, but attempts to, then this would suggest a stiction problem (heads stuck to platters), or spindle bearing seizure. As for discolouration, this is the result of oxidisation due to materials changes mandated by RoHS. I wouldn’t be unduly concerned, but while you have the PCB off the drive, you may as well use a soft white pencil eraser to gently scrub the 18 copper pads at the preamp connector, J1, at the left side of the photo.