• • • • Benefits of Using Word Heading Styles Modifying “Styles” in a Word document is a good technique to use the formatting tools in Word, while creating more accessible content. Using Word Styles tools allows you to: • to personalize and design your Word documents while using recommended styles such as Heading 1, Heading 2 and others. • to easily create table of contents by finding and listing content based on styles • to facilitate transition of content to other formats and preserve heading structure (e.g. Export to a tagged PDF or to an InDesign template) • to globally modify content by changing one Style setting. This includes modifications needed for a low vision student or a student with other reading/visual processing issues. Modify Headings in Word 2013 (Windows) Note: The instructions below are mainly based on Office 2013 for Windows. But, with very minor modifications, they can be used for Office 2016 for Mac and Office 2010 for Windows as well.
In Word 2016, a multilevel list, also called a nested list, is a list with subordinate entries, as shown here. To create a multilevel list, you declare what kind of list you want, and then, as you enter items for the list, you indent the items that you want to be subordinate.
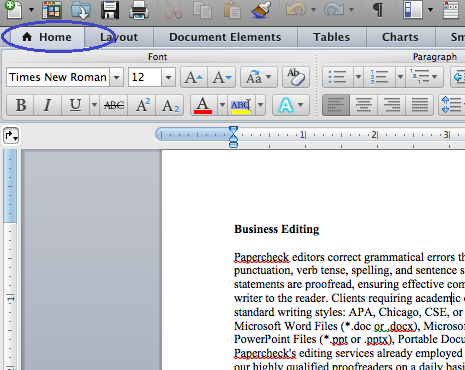
• Highlight the text and format using the Font tools in the ribbon. You may apply headings using Styles in the tool ribbon or using the Key commands Ctrl+Alt+1 (Windows) • Open the Styles Pane. Windows Key commands: Alt+H,F,Y,F6.
Microsoft word for mac icon. • Then right click on the desired Heading style you wish that text to resemble and select “Update Heading to Match Selection.” This will modify all the headings for this document. Word 2016 (Mac) For Mac do the same after choosing headings from the Home tab Online Office 365 Some tools can be accessed by expanding the Styles tab and clicking Apply Styles.
How to Create a Multilevel List in Microsoft Word Creating a multilevel list in Word is dead simple. Start by typing out one or more lines of your list, with each item of your list on a different line.
Then, select those lines. On the “Home” tab of the Ribbon, click the “Multilevel Lists” button, and then click one of the built-in lists types shown on the dropdown menu. Your list will now be formatted in the style you chose. And yes, right now, it’s a single-level list.

The truth is that technically, single- and multi-level lists are not much different in Word. It’s not until you start promoting and demoting list items that it turns into a multilevel list. Demoting and Promoting Lines On Your Multilevel List Demoting a line in your list indents the line and bumps it to a lower list level. Promoting a line does just the opposite.
Your business data is likely the most important thing you carry with you, and your backups need protection, too. Best raid array for mac. The 1TB Buffalo MiniStation Extreme NFC ($129.99) will protect your data physically and electronically, since it's a rugged hard drive with 256-bit Advanced Encryption Standard (AES) and hardware-based Near-Field Communication (NFC) security features.
Demote or Promote a List Item By Pressing Tab or Shift-Tab Start by placing your cursor at the beginning of the line you want to demote or promote. To demote that line to a lower list level, just hit your Tab key. You can also demote a line more than once by just pressing Tab however many times you need.