Installing emulators isn't easy, and I learned this the hard way. I recently attempted to download a PlayStation emulator—specifically —on my iMac running OS X Lion and what I thought was going to be a 10-minute task became a 1-hour excursion as I had to search through various forums and torrent sites for proper instructions and necessary plug-ins. After some trial and error I eventually had PCSX Reloaded successfully running on my iMac. Of course it was a difficult and lengthy process and since I know I’m not going to be the last Mac user to attempt to install this confusing application I have taken the initiative to provide a step-by-step guide on making it work on the most recent version of OS X. STEP 2: Unzip the file and drag ‘PCSX Reloaded.app’ to your Applications folder. Open PCSX Reloaded and a dialog box should appear warning you about the bios files cannot be found.
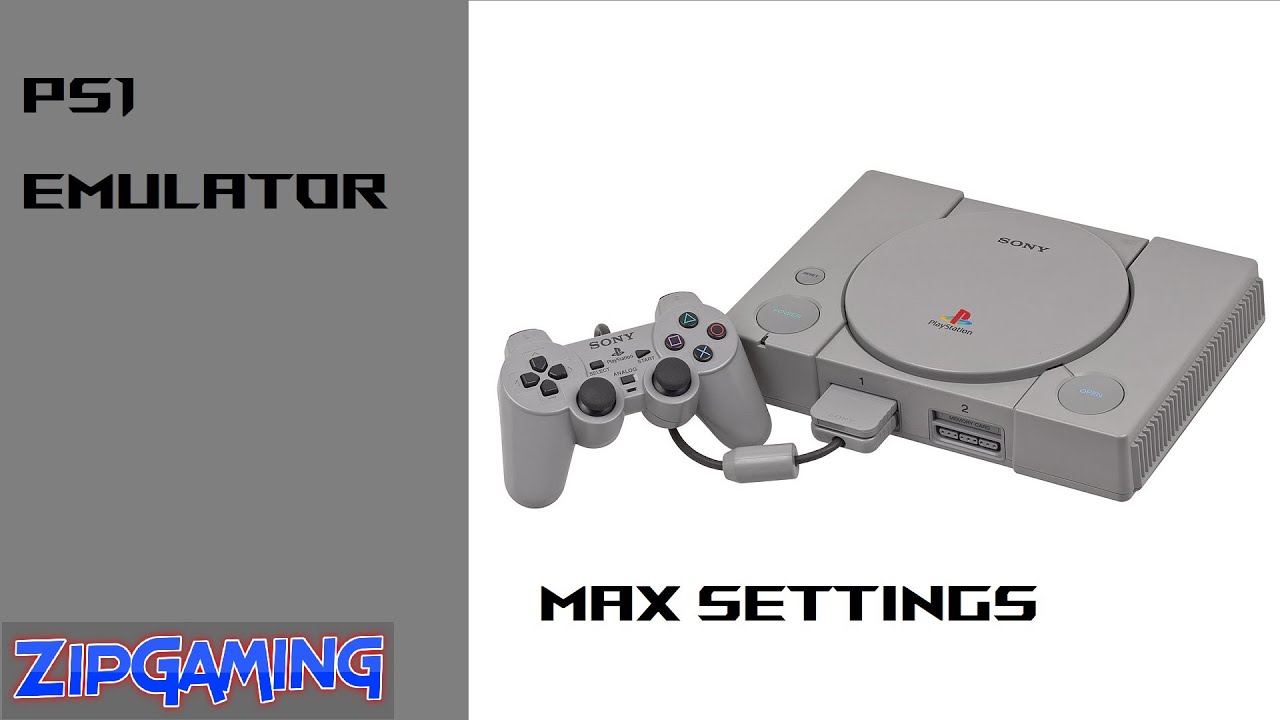
Looking for a PS1 (PSX) emulator to play Playstation games on Android and PC?  Then here are the best PSX emulator for Android, PC, Linux, iOS and Mac. When you ask a video game historian what spawned the PlayStation, he'd tell you that it was a failed collaboration between Sony and Nintendo.
We’ll deal with that later. Select 'OK' and close PCSX Reloaded. Voila, you’ve just installed PCSX Reloaded on your Mac! PART 2 — Installing the Bios Now that you have PCSX Reloaded installed you need to download and install the bios files. Bios are encrypted files that enable the emulator to operate.
Without the bios files PCSX Reloaded is useless. Here’s how to download and install the bios files. STEP 1: Download the bios files directly from this link: If the link doesn’t work then visit and click on ‘Playstation Bios Files.zip’. STEP 2: Once the bios folder is downloaded unzip the ‘SCPH1001.zip’ file. ‘SCPH1001.BIN’ should now appear in the folder with the rest of the.BIN files. PART 3 — Access your Mac’s Library Directory Note: If you can already access your Mac’s Library directory then skip this part and move on to PART 4. The next step is to transfer the bios files into a folder created within the Library directory, but what many online instructions fail to mention is that OS X Lion hides the Library directory and prevents users from accessing it via the GUI.
So here’s how we can correct this issue. STEP 1: If you haven’t already, open PCSX Reloaded for the first time. Once it opens a dialog box will appear explaining that the bios files cannot be found. Select 'OK' and close PCSX Reloaded. Opening PCSX for the first time automatically creates a set of necessary folders within the Library to host the bios files. Download internet explorer for mac high sierra. STEP 2: There are two different methods to accessing the Library directory. One is to temporarily open it through Finder (Method A), and the other is to have it permanently appear with a command line via Terminal (Method B).
I’ll explain both methods but I recommend to have it permanently appear since you’ll need constant access to open games within PCSX Reloaded. >Method A: Hit Command+Shift+G from the Mac desktop (or Finder > Go > Go to Folder) and type in ~/Library to temporarily access the Library directory in the Finder. When you are done close the window and it will no longer be visible.
>Method B: Launch Terminal from Spotlight or Launchpad > Utilities and enter the following command to show or hide the directory: chflags nohiddien ~/Library/ Your Library will now permanently appear under your user directory. PART 4 — Drag the Bios Files into the Library Directory Now that you have access to your Library directory it’s time to place the bios files in the correct folder. STEP 1: Copy the bios files you downloaded earlier and place them in the following location: Library/Application Support/PCSX/Bios Keep in mind that these folders will only appear in your Library directory once you have opened and closed PCSX Reloaded for the first time. PART 5 — Configuring PCSX Plugins With everything installed you’re almost ready to play some classic PlayStation games! But before you do anything else make sure your controller, sound, and graphic plugins are configured to your liking. STEP 1: Open PCSX Reloaded and open the Preferences menu by selecting PCSX Reloaded > Preferences (or hit Command+,).
Then select Plugins. Note: Ensure that everything is unchecked in the Emulations Tab as some of these options may cause PCSX Reloaded to crash. Don’t worry, the emulator will work just fine without these options checked. Here you’ll be able to select and configure your PCSX plugins. Select each plugin and modify the controls and settings to your desire. The sound and graphic plugins should work fine on your Mac via the default settings.
PART 6 — Downloading a.ECM Game and Decompressing It This can get a bit confusing but you’re only two parts away from playing PS1 games on your Mac, so use this as your motivation to wrap this up. STEP 1: You’ll first need to find a PS1 game bios to download online. There are many websites available that provide these files so simply Google search for 'game bios for PCSX Reloaded'. When you download a game bios it will more than likely download on your computer as a.ECM file.ECM is the compression format used to restrain the relatively large sizes of the games. You’ll need to decompress this file to obtain the.BIN file. Now with the.BIN game stored in the Bios folder you’re ready to move on to the last and final part!